Twelve knots cover every structural rope job in a survival or preparedness setting: building shelter, securing loads, rescue, rappelling and joining lines. They were picked for function, reliability under load and how easy they are to remember under stress. Each entry gives the knot’s strength, how it fails, and the technique error that causes the failure. If you are rigging a tarp, skip to knots for shelter building.
How Much Strength Does a Knot Cost You?
Every knot weakens the rope it is tied in. Knot efficiency is the share of the rope’s rated breaking strength left after tying:
| Knot | Efficiency | Primary use |
|---|---|---|
| Bowline | 70-75% | Fixed loop, rescue, anchor |
| Figure-8 loop | 75-80% | Fixed loop, anchor, belay |
| Clove hitch | 60-65% | Post attachment, starting lashings |
| Tautline hitch | 65-70% | Adjustable tension (tent and tarp lines) |
| Trucker’s hitch | 55-60% (at the loop) | Mechanical advantage for tensioning |
| Prusik | 55-65% | Ascending a fixed line, safety backup |
| Sheet bend | 50-60% | Joining two lines of different thickness |
| Butterfly loop | 70-75% | Fixed loop mid-line |
| Square lashing | N/A (structural) | Joining two poles at a right angle |
| Shear lashing | N/A (structural) | Joining two poles side by side (A-frame peak, longer pole) |
| Timber hitch | 65-70% | Dragging logs, starting diagonal lashing |
| Anchor hitch (fisherman’s bend) | 70-75% | Tying to a ring or anchor point |
Worked example: 7-strand paracord (550 cord) is rated at 550 lbs (249 kg). At 70% bowline efficiency, a bowline in 550 cord holds about 550 × 0.70 = 385 lbs before the knot fails.
Rope material changes how knots behave. Nylon stretches under load, which absorbs shock. Polyester stretches less, which suits static loads. Natural-fiber rope loses about 10-15% of its dry strength when wet.
1. Bowline: The Rescue Loop
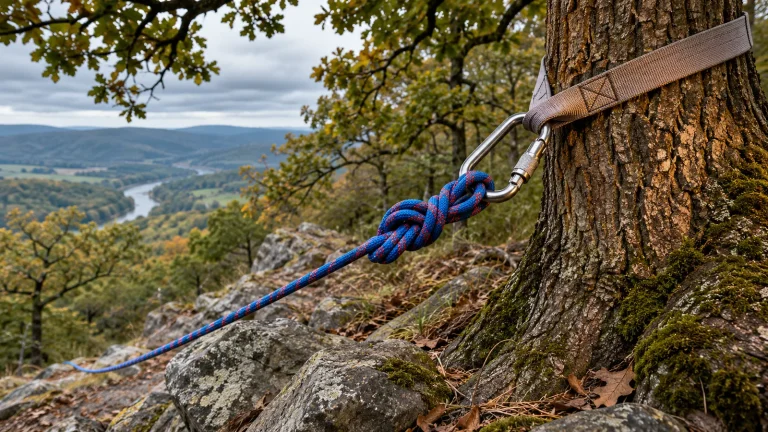
A fixed loop at the end of a rope that does not tighten under load. Use it to haul a person (loop around the chest), anchor to a fixed point, or attach a line to a ring or carabiner.
Memory aid: “The rabbit comes out of the hole, runs around the tree, and goes back down the hole.” The rabbit is the working end, the hole is a small loop in the standing part, and the tree is the standing part.
Critical technique: Dress the knot by pulling all four strands tight before loading it. An undressed bowline slips. Leave a tail of at least 6 rope diameters. Under repeated loading, back it up with an overhand knot on the tail against the knot body.
Failure mode: A bowline can capsize (flip into an insecure shape) under cyclic loading without a stopper knot. Do not use it for life safety without a backup knot.
2. Figure-8 on a Bight: The Anchor Knot
A fixed loop that is stronger than the bowline and does not capsize. It is the standard life-safety anchor knot in search and rescue and rappelling. It is harder to untie after a heavy load.
Method: Double the rope back on itself to form a bight. Tie a figure-8 with the doubled rope: cross the bight over the standing part to form a loop, wrap it under, and pass it up through the first loop. The result is bulky and very reliable.
Figure-8 follow-through: To tie around a fixed object (harness, ring), tie a single figure-8, pass the end through the attachment point, then retrace the figure-8 back through itself along the original path. This is the standard rescue and rappel tie-in.
3. Clove Hitch: The Pole Attachment
The quickest way to attach a line to a post, branch or pole when the pull is at a right angle to the pole. It starts square and diagonal lashings. Do not use it alone for loads along the pole’s length: it slips when pulled parallel to the pole.
Method: Wrap the rope around the pole. Cross over itself. Wrap around the pole again. Tuck the working end under the second wrap. You can tie it mid-rope without reaching either end.
Limitation: Clove hitches slip under steady one-way load. Back one up with a half hitch if the load direction may change. It grips well enough to start a lashing, and the frapping turns take over from there.
4. Tautline Hitch: Adjustable Tension
A sliding loop that grips under load and slides when slack. It is the standard knot for tent and tarp guylines because you can tension it without untying.
Method: Pass the working end around the anchor (stake or tree). Make two wraps around the standing part inside the loop, then one wrap outside the loop. The inside wraps grip; the outside wrap locks.
Failure mode: It slips under very high load or in slick synthetic cord. Add a third inside wrap for heavier loads.
5. Trucker’s Hitch: Mechanical Advantage
Gives about a 3:1 mechanical advantage for tensioning a line: securing loads, tightening a ridgeline, or cinching a tarp down against wind. It is a system, not a single knot, built around a mid-line loop that acts as a pulley.
- Tie a butterfly loop partway along the rope.
- Pass the working end around the anchor point.
- Run the working end back through the butterfly loop. This is your pulley.
- Pull to tension.
- Lock it off with two half hitches.
6. Prusik: Ascending and Safety Backup
A friction hitch made from a loop of thinner cord around a main line. It slides when unloaded and grips under load. Use it to climb a fixed rope, back up a rappel, or make an adjustable attachment point.
Cord size: The Prusik cord must be clearly thinner than the main line. A 5mm Prusik grips a 9mm line reliably. A 5mm Prusik on a 6mm line may not grip. Paracord (4mm) works as a Prusik on a 7-8mm main line.
Method: Tie the Prusik cord into a loop (overhand or double fisherman’s). Wrap the loop around the main line 3 times, then pass it back through itself. More coils grip harder; fewer slide more easily. Dress the coils so they lie parallel and even.
7. Sheet Bend: Joining Two Lines
The best knot for joining two ropes of different thickness, and more secure than a square knot for that job. It can fail under cyclic loading, so for a lasting join tie a double sheet bend (one extra wrap of the thinner rope).
Method: Form a bight in the thicker rope. Pass the thinner rope up through the bight from underneath, around both legs of the bight, and tuck it under itself. Both short ends must come out on the same side of the knot. If they come out on opposite sides, the knot is tied wrong and can fail.
8. Square Lashing: Joining Two Poles at a Right Angle
Joins two crossing poles to build frames for shelters, stretchers, ladders and raised platforms.
- Tie a clove hitch on the upright pole just below the crossing.
- Make 5-6 wrapping turns around both poles, over and under, kept tight and parallel.
- Make 3-4 frapping turns between the poles, across the wrapping turns, to cinch everything tight.
- Finish with a clove hitch on the crossbar.
The frapping turns create the compression. Skip them and the joint is weak. A correct square lashing holds in every direction without the poles rotating.
9. Shear Lashing: A-Frame Peaks and Longer Poles
Binds two poles side by side. Use it to make an A-frame peak (spread the poles after lashing) or to join two poles into one longer pole.
- Overlap the poles by about 6-8 inches at the joint.
- Tie a clove hitch on one pole.
- Wrap both poles together with 6-8 parallel turns (not over-under) covering the overlap.
- Make 3 frapping turns between the poles, across the wraps, to lock them against rotation.
- Finish with a clove hitch on the second pole.
Test it: grab both poles and try to twist them against each other. The joint should not move. Shear lashings are strong along the poles but weak in bending. If the joint has to resist bending, reinforce it with a rigid overlapping sleeve.
10. Timber Hitch: Dragging Logs
Attaches a line to a log or post. It tightens under load and falls loose when the load comes off, which makes it ideal when you drag and release logs again and again while building.
Method: Pass the working end around the log and back under the standing part. Wrap the working end around itself 3-4 times, winding in the direction of the pull. The wraps tighten against themselves under load. When starting a diagonal lashing, add a half hitch after the timber hitch to hold the rope at an angle.
11. Butterfly Loop: Fixed Loop Mid-Line
Makes a fixed loop anywhere in a rope without reaching either end. It takes load in three directions without distorting. Use it as the pulley in a trucker’s hitch, as a mid-line attachment point, or to isolate a damaged section of rope.
Method (hand wrap): Make two wraps around your hand. Take the middle wrap off over your fingers and push it through the loop left on your palm. The finished knot has the loop on one side and two parallel strands on the other. Pull the loop away from the strands to dress and tighten it.
12. Anchor Hitch (Fisherman’s Bend): Tying to a Ring
The most secure hitch for a ring, handle or anchor point when the pull direction may change. Unlike a clove hitch, it does not slip under shifting load, because the first turn locks the second.
Method: Make two round turns through the ring. Pass the working end under both turns. Take a half hitch around the standing part. For a permanent tie, add a second half hitch. In marine use, seize the tail to the standing part with whipping thread.
Which Knots Do You Need to Build a Shelter?
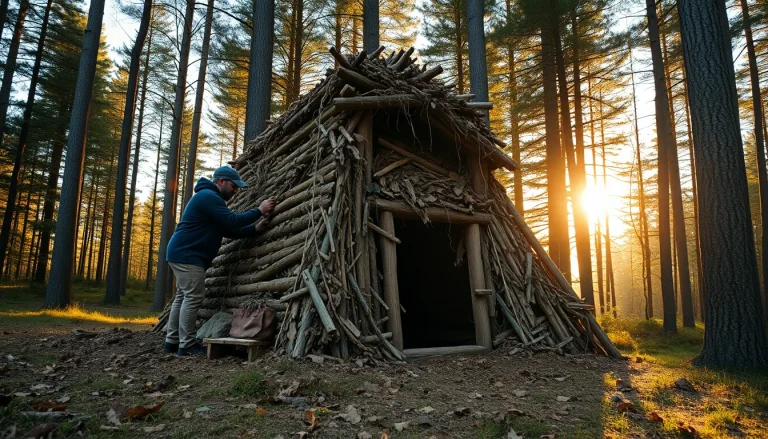
Four jobs cover the rope work in any field shelter. Each uses knots from the list above. Using the wrong knot for the load direction is what makes shelters fail.
| Shelter job | Knot |
|---|---|
| Ridgeline, fixed end | Bowline (or timber hitch for a quick temporary anchor) |
| Ridgeline, tensioning end | Trucker’s hitch with a butterfly loop |
| Guylines to stakes | Tautline hitch |
| A-frame peak | Shear lashing |
| Crossed bracing in a frame | Diagonal lashing |
How do you tie a tarp ridgeline?
The ridgeline must be tight enough to hold the tarp without sagging into the space below.
- Fixed end: Tie a bowline around the first tree at about 7-8 feet for a ridgeline at standing height. The bowline loop does not cinch on the tree; the ridgeline’s tension holds it in place. For a quick anchor that releases cleanly when the line goes slack, use a timber hitch.
- Second tree: Run the line to the second tree, around it, and back toward the first tree.
- Pulley: Tie a butterfly loop in the line about 2 feet from the second tree.
- Tension: Bring the working end back through the butterfly loop for 3:1 advantage and pull. One person can tension a ridgeline tight enough for a loaded tarp without help.
- Lock off with two half hitches around the standing part.
With the tarp on, the line should sag no more than 6 inches at the center. If it sags more, re-tension.
How do you set guylines so they hold in wind?
Guylines hold the tarp edges down and keep the shelter’s shape against wind and rain. The tautline hitch lets you adjust each line after staking, so you can even out tension across all of them without retying.
- Tie the guyline to the tarp grommet or loop with a bowline or a lark’s head (cow hitch). Not a square knot: it jams under tension and is hard to undo.
- Drive the stake at a 45° angle, leaning away from the tarp. A vertical stake pulls straight out under sideways load.
- Run the guyline to the stake at about 45° to the ground. Steeper angles reduce the horizontal force holding the stake.
- Tie a tautline hitch around the stake: two wraps inside the loop, one outside. Slide to tension, then tug the guyline to check that the knot grips without sliding.
High wind: Use two stakes in line for each guyline, connected by a short line. This spreads the load and reduces pull-out in gusts.
How do you lash an A-frame?
An A-frame uses two pairs of poles joined at the peak, with a ridgeline or crossbar between the two peaks. Lash each peak with a shear lashing (knot 9 above). Each joint has to resist rotation and separation under load, so test it by twisting the poles against each other.
How do you tie a diagonal lashing?
Diagonal lashing joins two poles that cross at an angle and stops a frame from racking (leaning into a parallelogram) under side load. Use it for X-bracing in shelter walls and lean-to frames.
- Tie a timber hitch diagonally around both poles at the crossing. It draws the poles together.
- Make 4 wrapping turns along one diagonal (upper left to lower right).
- Make 4 wrapping turns along the other diagonal (upper right to lower left).
- Make 3 frapping turns between the poles.
- Finish with a clove hitch.
How do you test a shelter before you trust it?
- Ridgeline: Check the sag with the tarp on. More than 6 inches at the center means re-tension.
- Lashed joints: Grab the two poles and push them in opposite directions. The joint should not move. Any slip or rotation means the frapping turns need tightening.
- Guylines: Push up on the tarp center from below. The guylines should keep the edges from rising more than 3-4 inches.
How Should You Practice Knots?
Knot skill fades fast without practice. A knot you can tie slowly in good light can fail you when you are cold, wet and stressed.
- Learned means 10 in a row: tie each knot correctly 10 times in a row before you call it learned.
- Speed target: bowline and figure-8 in under 15 seconds each. These are the two knots most likely needed in a rescue.
- Stress practice: tie them one-handed, in the dark and with gloves on. You can tie a bowline one-handed by bracing the standing part against a fixed object, useful if one arm is hurt or busy.
Where to Go Next
Rescue knots, including the bowline seat harness, figure-8 anchor and Prusik ascending, are in rescue knots: bowline, figure-8, and Prusik for self-rescue. The shelters these knots hold together are in emergency shelter building: 7 structures from natural materials.