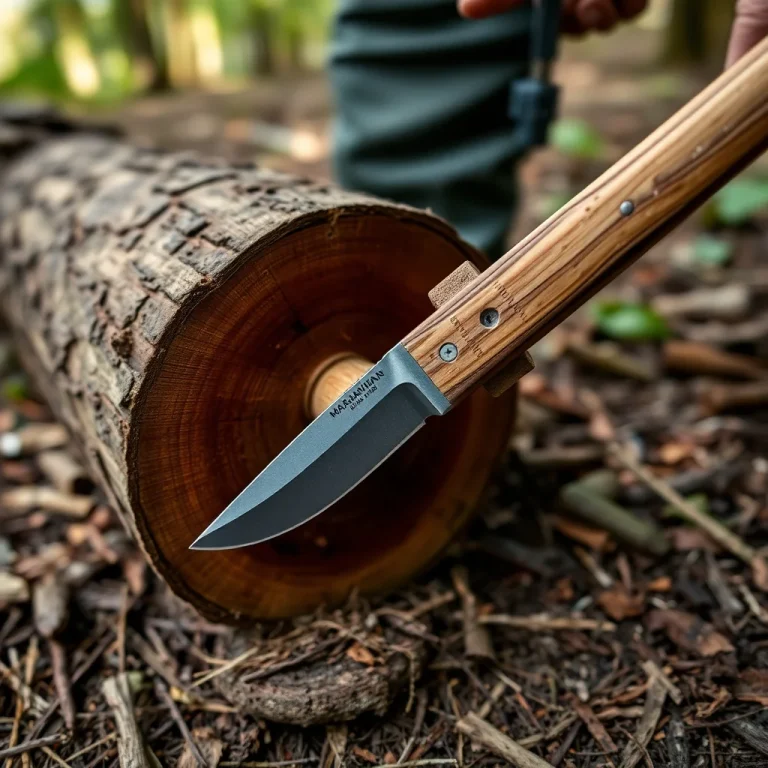
Three knots — bowline, figure-8, and Prusik — cover the core rope applications in a wilderness rescue scenario: creating a harness for hauling or lowering a person, establishing a secure anchor point, and ascending a fixed rope after a fall or for accessing a cliff or steep embankment. These are the knots with direct life-safety implications. This is a companion to the full 12-knot reference in survival knot tying: 12 knots every prepper must know.
Bowline Seat Harness: Improvised Sit-Harness From One Rope
A commercial harness distributes load across the hip bones and thighs. An improvised seat harness using a bowline approximates this distribution well enough for short-duration rescue (lowering or hauling over 30–100 feet) but is not a substitute for a commercial harness in technical climbing or extended hanging. For evacuation hauling at distances under 50 feet, the improvised bowline harness is reliable.
Single-loop bowline seat harness (simple):
- Tie a large bowline loop sized to go around both thighs when sitting — approximately 24–30 inches in diameter for an adult.
- Step through the loop — both legs through, loop sitting under the buttocks like sitting in a swing.
- The standing part (the rope coming from the bowline knot body up toward the anchor) becomes the hauling line. Pull force is taken across the bowline knot body and transferred through both loops to the thighs.
- The person being hauled should hold the standing line above the bowline with both hands to stabilize their body angle and prevent tipping forward.
Swiss seat (more secure for longer operations):
- Start with a 10–12 foot length of rope. Find the midpoint.
- Place the midpoint against the small of the back. Bring both ends around to the front, crossing over the abdomen.
- Pass each end between the legs, one on each side. Bring both ends back up to the front.
- Thread both ends through the loops at the hip (front) and tie together with a square knot backed by two half-hitches. The attachment point is at the front hip-level cross.
- Load rating: sufficient for rescue use under 350 lbs dynamic load with properly weighted rope (minimum 8mm dynamic). Do not use static rope (climbing rope, paracord) for dynamic falls — the energy absorption characteristics are wrong.
One-Handed Bowline: Tying When One Hand Is Injured
If one arm is injured, the bowline can be tied one-handed by bracing the standing part against a fixed object:
- Place the standing part around a tree or post at waist height, holding the working end in your functioning hand.
- Form the small loop by flipping the working end over the standing part using your hand against the tree as a brace point.
- Push the working end through the loop from behind, route around the standing part, and back through the loop — all with one hand and the tree as a third point.
- Practice this before you need it — the one-handed technique requires 20–30 repetitions to internalize. It takes approximately 30–45 seconds when practiced.
Figure-8 on a Bight: Building the Anchor
The figure-8 on a bight is the preferred anchor knot for rescue scenarios because it does not capsize under any loading condition, is easily visually inspected (the knot pattern is immediately recognizable when dressed correctly), and does not fail when loaded in unexpected directions.
Redundant anchor setup using figure-8s:
- For a single-person hauling anchor in the field, one figure-8 on a bight around a tree trunk 6 inches or greater in diameter is sufficient. Never anchor to a standing dead tree, a leaning tree, or a tree that shows signs of root damage.
- For redundant rescue anchors (two-point equalized anchor): tie a figure-8 on a bight to each of two separate trees. Connect the two loops with a carabiner or a bowline tied around both loops. The load is equalized across both anchors.
- Test every anchor before committing a person to it: apply body weight progressively for 10 seconds, observing for any movement in the knot or anchor point. If the anchor deflects more than 1 inch under body weight, use a different anchor.
Prusik for Ascending a Fixed Line
A Prusik hitch on a fixed line allows ascending a rope without mechanical ascenders. Two Prusiks are needed for ascending: one as a foot loop (stand up in it to gain height) and one as a chest or hip loop (sit back in it while repositioning the foot Prusik).
Two-Prusik ascending system:
- Foot Prusik: Tie a Prusik loop of approximately 60cm circumference (30cm per leg) in 5–6mm cord. Attach to the main line with 3 wraps. The loop end hangs below as a foot stirrup.
- Body Prusik: Tie a second Prusik loop above the foot Prusik, sized to position the hand grip at chest height when standing in the foot Prusik.
- Ascending sequence: Stand in the foot Prusik, slide the body Prusik up as high as possible. Sit back into the body Prusik (weight transfers from feet to body loop). Slide the foot Prusik up and stand again. Repeat. Average ascent rate: approximately 3–4 feet per cycle.
Prusik as rappel safety backup: Attach a Prusik below a belay device on a rappel. Hold the Prusik loosely in the braking hand — it slides down with you during controlled descent. If you release the rappel device for any reason, the Prusik grips the rope and stops the descent automatically. This is a standard safety practice in technical rappelling.
Prusik failure modes: A Prusik loses grip when the Prusik cord is the same diameter as the main line (diameter ratio must be under 80%); when the wraps are not parallel (tangled wraps reduce grip surface); and when the main line is icy or muddy (reduced friction). In icy conditions, use 4–5 wraps instead of 3.
Where to Go Next
The full 12-knot reference with load ratings and use cases is in survival knot tying: 12 knots every prepper must know. Shelter-building knot applications (ridgeline, tautline guyline, lashings) are in knots for shelter building: ridgeline, tautline, and lashing. If you need to treat an injury sustained during a rescue, the field wound care and fracture management articles are linked from wilderness first aid: 15 field-treatable emergencies.